
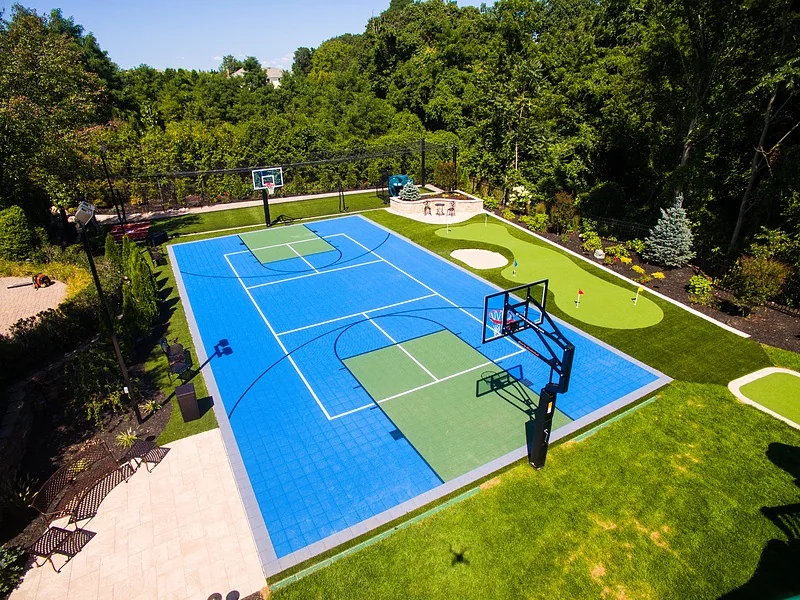
A practical basketball court design sequence
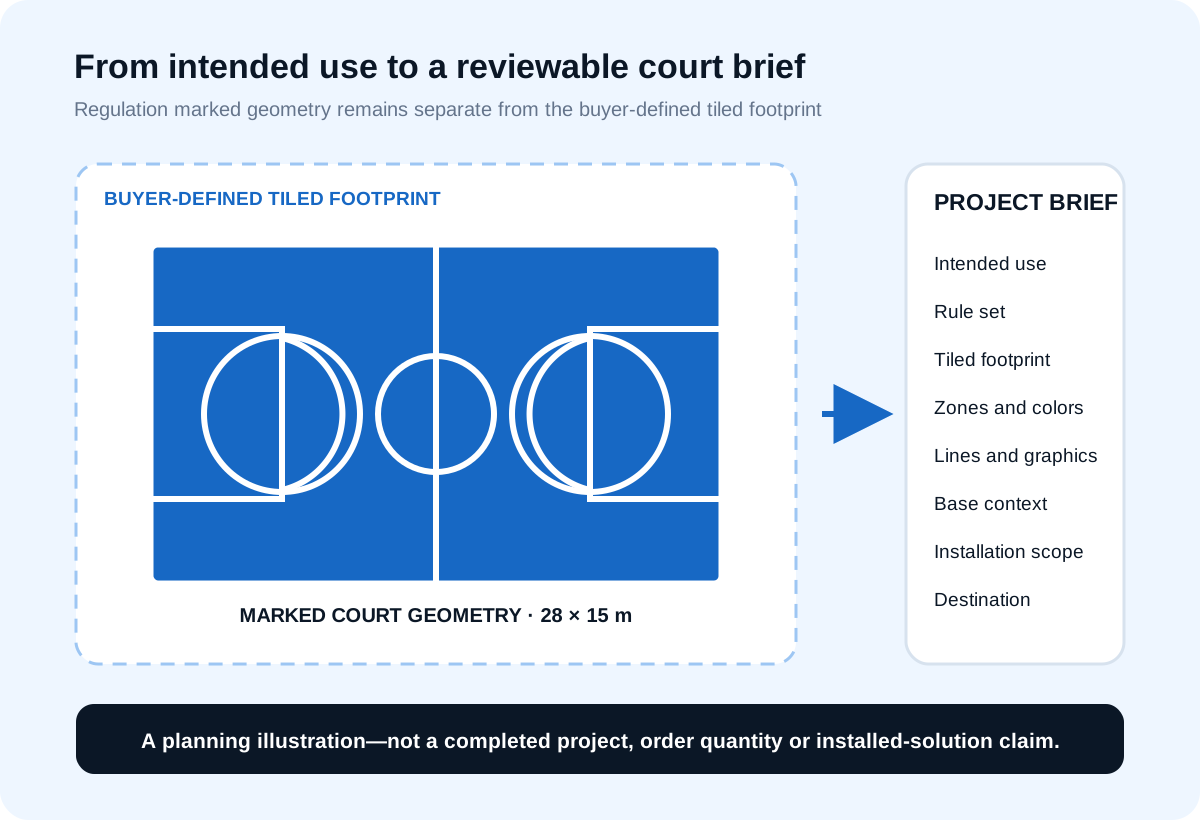
To design a basketball court, decide whether you need a full court, a half court or a practice area. Measure the complete site, choose the applicable line layout, then plan colours, equipment and the flooring boundary. The FIBA marked court is 28 × 15 m; surrounding playing space must be considered separately.
In this guide
1. Set the court objective
Confirm the intended use before drawing the lines. A practice court may have a different space allocation from a regulation competition court. Record the users, indoor or outdoor setting and any other sports that need to share the surface. A layout preview alone does not establish competition compliance.
Record whether the project is a backyard practice area, a dedicated outdoor court or another defined use context. These labels describe the brief; they do not establish one standard footprint, product or installed solution.
2. Separate marked geometry from project footprint
Two dimensions are needed. The selected rule-set geometry controls the game lines. The total tiled length and width control the surface area and preliminary tile quantity.
The Movevia Court Designer keeps the fixed marked geometry fixed. It can display only the portion that fits when the buyer enters a smaller footprint; it does not rescale the official court to make it fit. Surrounding area remains a project decision.
3. Plan colors, zones and game lines
Main playing area
Choose a primary court color that supports the intended layout and product palette.
Key and feature zones
Use contrast deliberately so the design hierarchy remains clear.
Surrounding surface
Identify the selected tiled area outside the marked court instead of treating it as an invisible allowance.
Game lines
Choose a rule set and a line colour that is clear against every playing zone. For a shared court, give each sport a distinct, readable set of markings. Record net and hoop positions in the drawing and use the multi-sport planner to discuss the arrangement.
Logo or custom graphic
Provide usable artwork and placement intent for feasibility review.
Perimeter
Record edge trim and transitions separately from court graphics.
4. Prepare the project handoff
- Saved Designer layout or clear marked-up drawing
- Total tiled dimensions and selected game geometry
- Site, base and drainage context
- Color, line and logo requirements
- Preferred product or performance need
- Destination and requested supply or installation scope
Once the drawing is settled, use the basketball court cost guide to compare supply and construction scope. If modular tiles are shortlisted, review the installation workflow and request the instructions for the selected model.
Basketball design questions
Does a court design establish the final order quantity?
It supports preliminary planning. Product review and confirmed project requirements are still needed before the commercial quantity is finalized.
Can I design a footprint smaller than the regulation court?
The planning tool may show the portion that fits, but it does not shrink the regulation sport geometry. Confirm the intended use before treating the result as a complete court.
What should a basketball court design brief include before quotation?
Include the intended use, governing geometry, complete tiled footprint, zones, colors, lines, graphics, perimeter, base context, installation responsibility, destination and reference drawing.
Can one court design include more than one sport?
Yes, but each sport needs verified geometry and a deliberate line hierarchy. This page records the design requirement; it does not provide futsal or other cross-sport geometry.
Where can I review current basketball tile options?
Continue to the Basketball Court Flooring Application for the current commercial shortlist.

 +86 153 5079 0183