
Sports court tile installation at a glance
Sports court tile installation starts with a suitable base and an agreed layout. The work then covers surface preparation, set-out, interlocking assembly, line markings, perimeter finishing and inspection. Obtain the selected model’s installation instructions before work starts; the connection method and site requirements can differ between products.
Installation and tile details
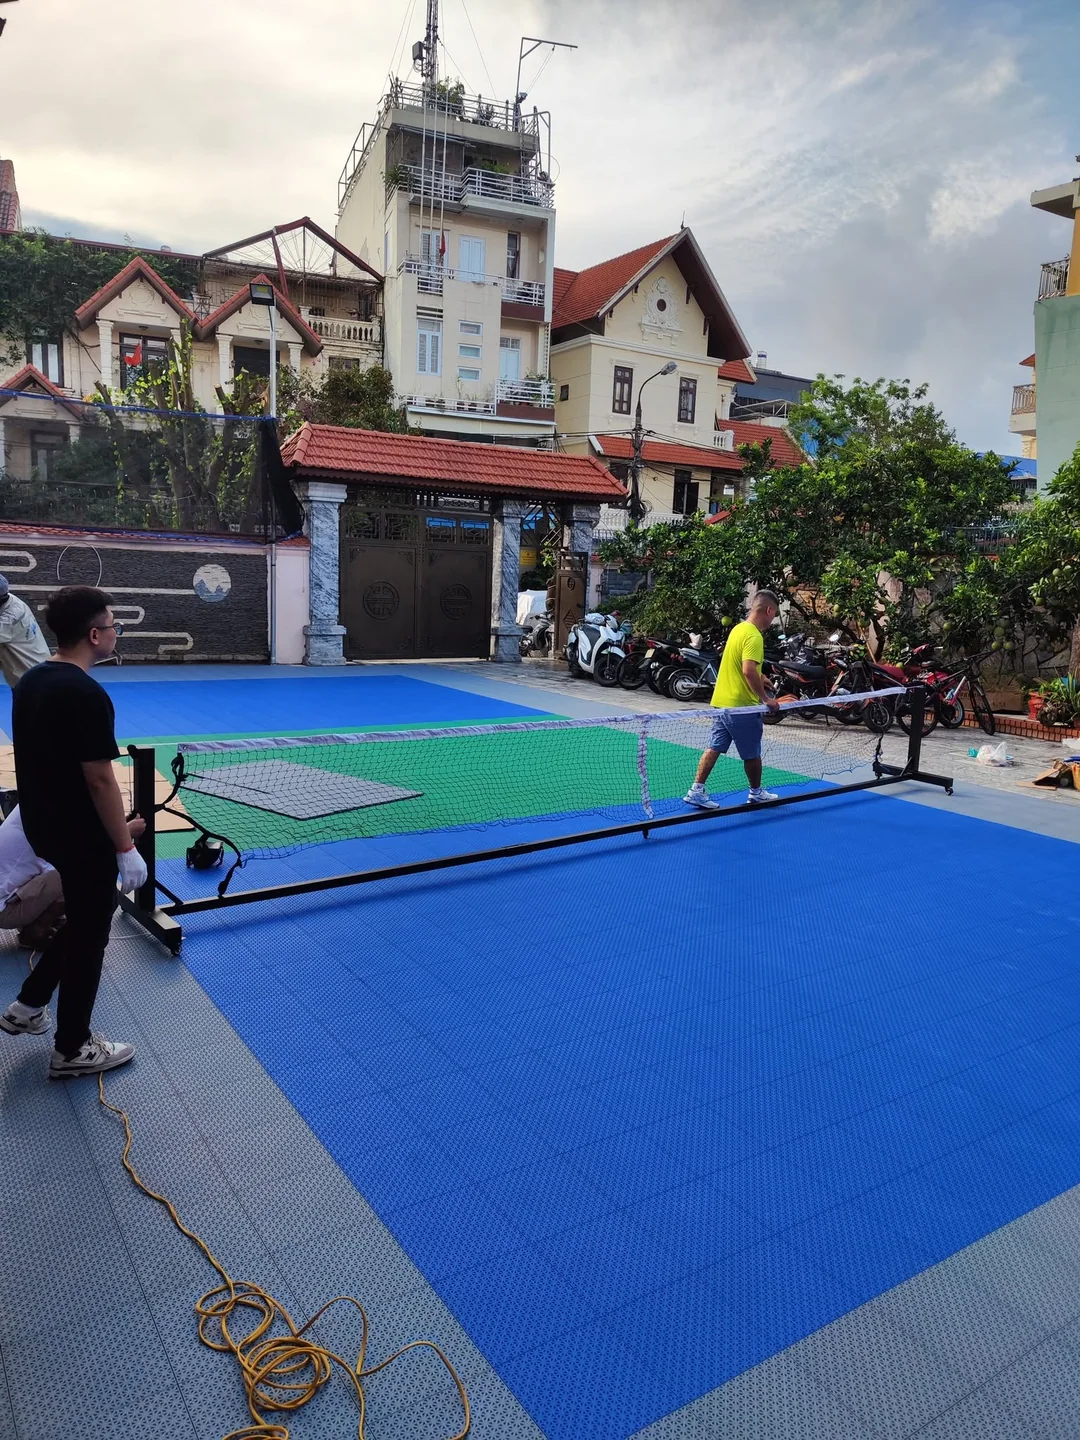
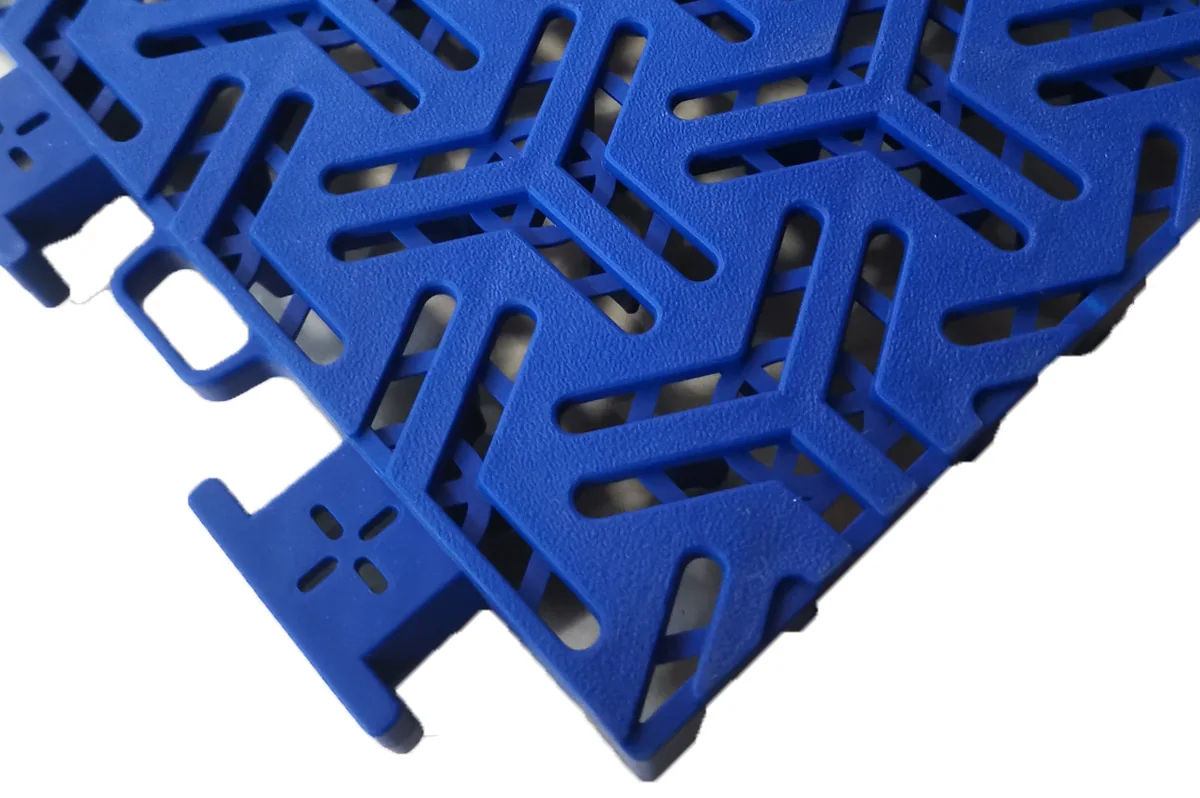
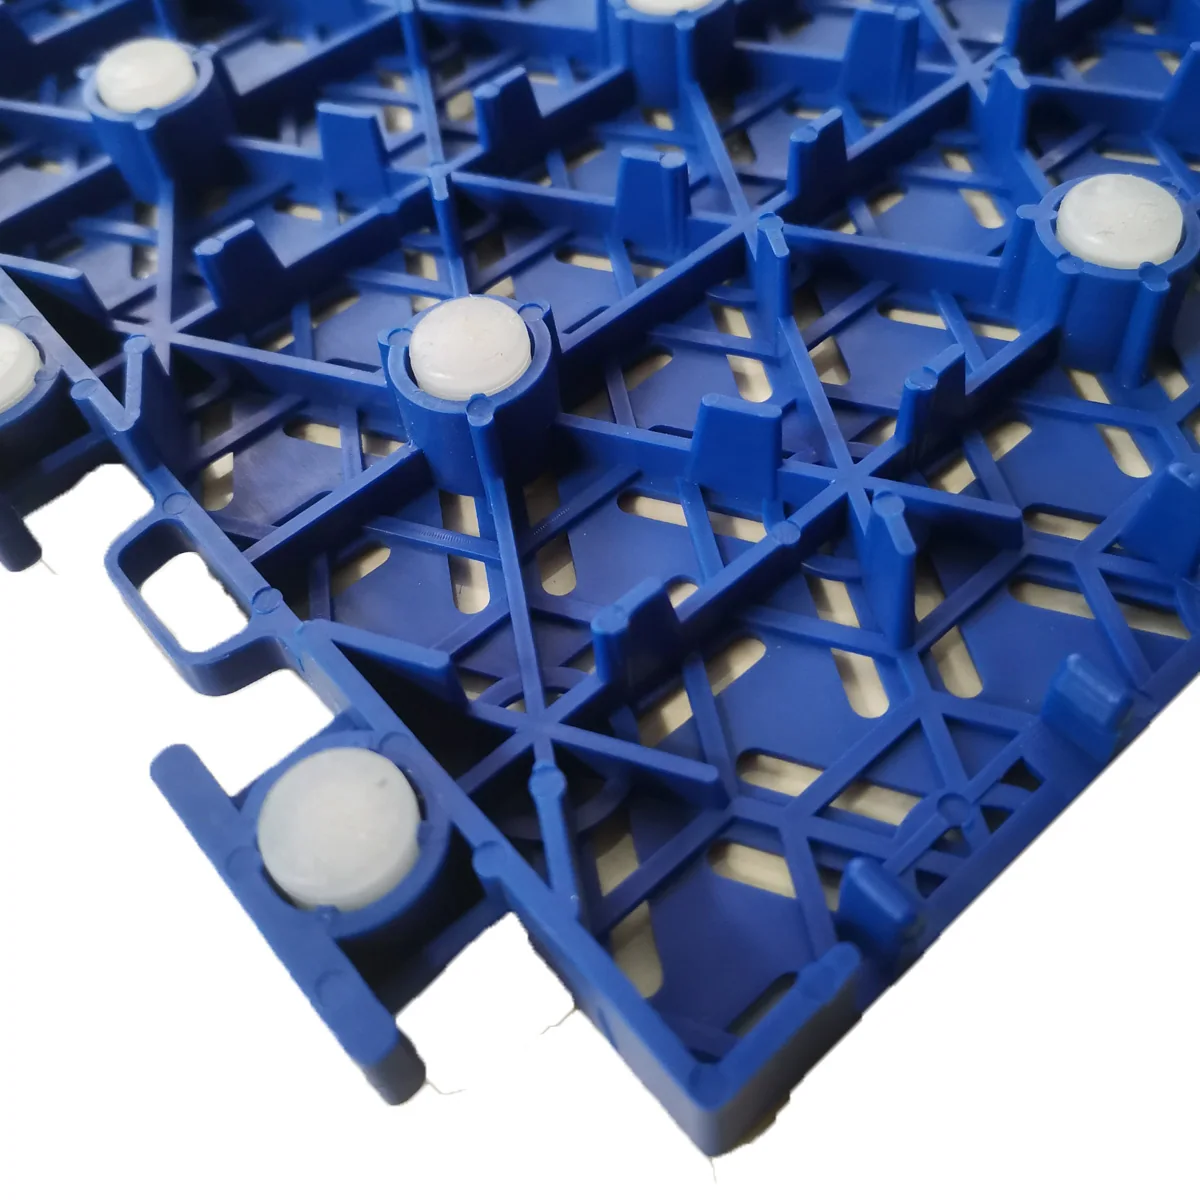
Assign responsibility before work begins: identify who reviews and prepares the base, who installs tiles, lines and perimeter pieces, and who inspects and signs off the completed surface. A generic sequence does not replace the selected model’s current instructions or a site-specific review.
Installation workflow
1. Review the site and base
Confirm the installation area, site conditions and existing base. Review condition, cleanliness, flatness, drainage context, transitions and obstructions against the current requirements for the selected product. Resolve responsibility for any preparation or repair before the tiles arrive.
Before confirming a delivery date, ask for the selected model’s requirements for the base, perimeter allowance, connections and edge pieces. Have the responsible installer review the actual site and identify any preparation still needed.
2. Clean, measure and confirm the set-out
- Clear and clean the installation surface.
- Verify total tiled dimensions against the approved plan.
- Confirm the starting position, orientation, color zones and line layout.
- Check perimeter transitions and expansion treatment against the product instructions.
3. Assemble the modular flooring
Organize material by the approved layout and connect tiles using the model-specific engagement method. Work in a controlled sequence so orientation and color zones remain consistent. Do not force damaged parts into the surface. Keep finished sections protected from unrelated site work.
Coordinate game lines
Use the approved rule set and visible line hierarchy. Confirm whether lines are factory-coordinated, applied on site or handled by another party. Keep the net plane and other equipment references distinct from painted floor markings.
4. Finish the perimeter and inspect the court
- Install the specified edge or transition treatment
- Check tile engagement, orientation and damaged components
- Confirm colors, court lines and graphic placement against the approved plan
- Remove debris and record the completed surface
- Hand over the current care and maintenance information
Handover and basic care
At handover, confirm that the agreed layout, lines, edges and transitions have been inspected; remove loose debris; record any damaged components; and retain the selected model’s current installation and care documents. Continue routine visual inspection and escalate damaged tiles, movement or base concerns for project review. Do not apply a chemical, pressure-washing method or maintenance schedule unless the current product document authorizes it.
Installation questions
Is modular sports flooring always a DIY installation?
Not every project is suitable for DIY assembly. Connecting the tiles is only one part of the job; base preparation, layout accuracy, cutting and perimeter transitions also need to be addressed. Agree who will carry out the work and check the selected model instructions before deciding on self-installation.
Can tiles correct a damaged or unsuitable base?
Do not assume they can. The base must be reviewed and any required preparation or repair resolved for the selected flooring system.
Who should prepare the base before tile installation?
The project brief must assign that responsibility to a party able to review the actual site and the selected system requirements. This guide does not approve an untreated or unsuitable base.
What should be checked at handover?
Check the agreed layout, line plan, tile engagement, perimeter, transitions and visible damage, then retain the current model documents and responsibility record.
Where should a basketball buyer choose the flooring system?
Use the Basketball Court Flooring Application for sport-specific product selection. Return here only for the generic modular installation workflow.
Where can I review the available tile families?
Use the Sports Court Tiles category for the current product routes, then request installation information for the shortlisted model.

 +86 153 5079 0183